


1分钟了解华亿(中国)家具
让好家具走进每一个餐厅18+关注
- 从2003年起,华亿(中国)创始人谷细堂先生追随中青山水时尚酒店创始人蔡海洋先生,从第一个山水酒店到全国100+酒店。。。
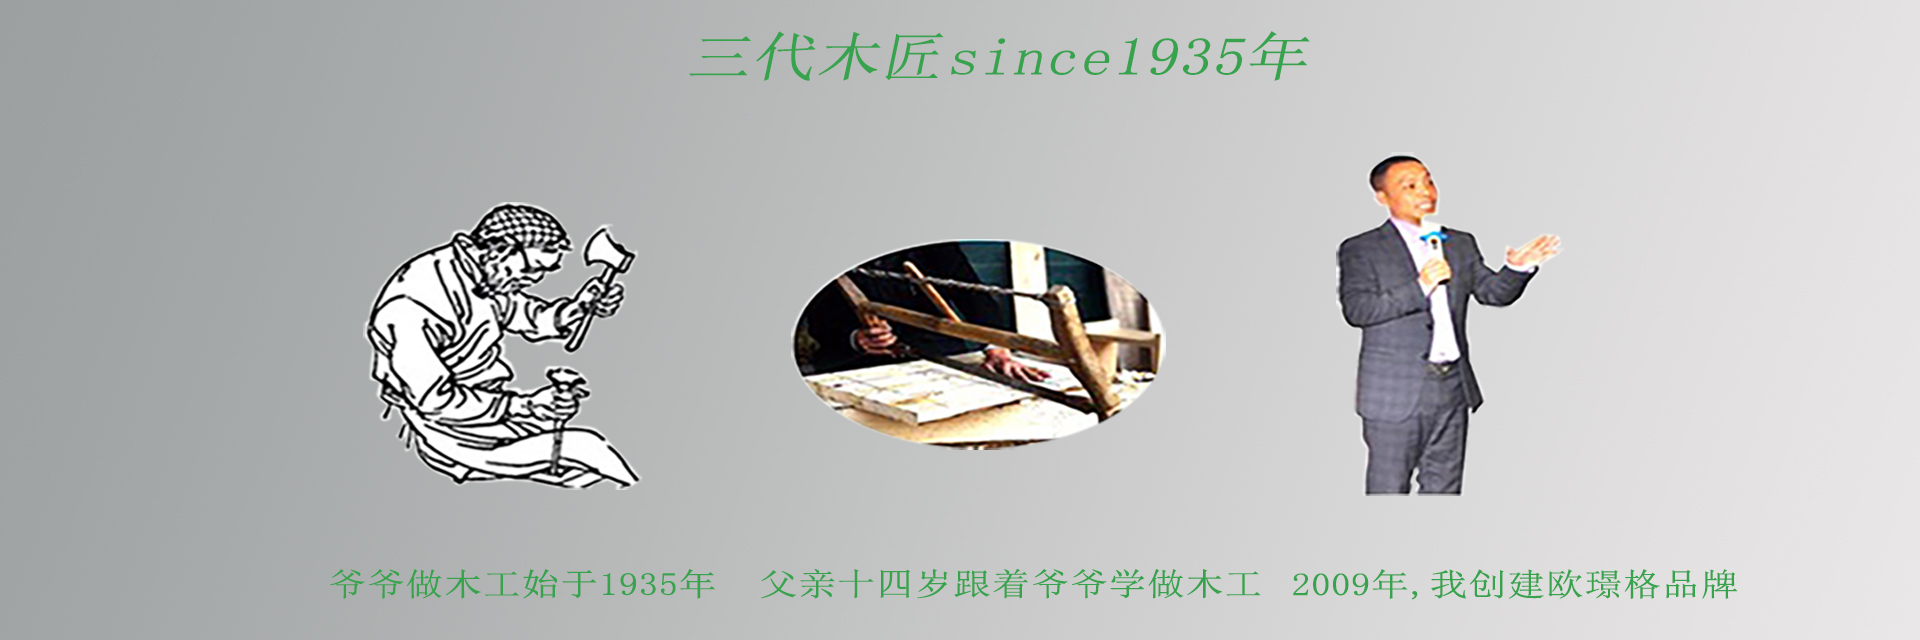
100+传承
- 1935年,爷爷开始做木工。
- 1962年,父亲十四岁跟随爷爷开始做木工。
- 2009年,我创立华亿(中国)品牌。
5000+人次
- 华亿(中国)每年接待客户到访考察5000+人次
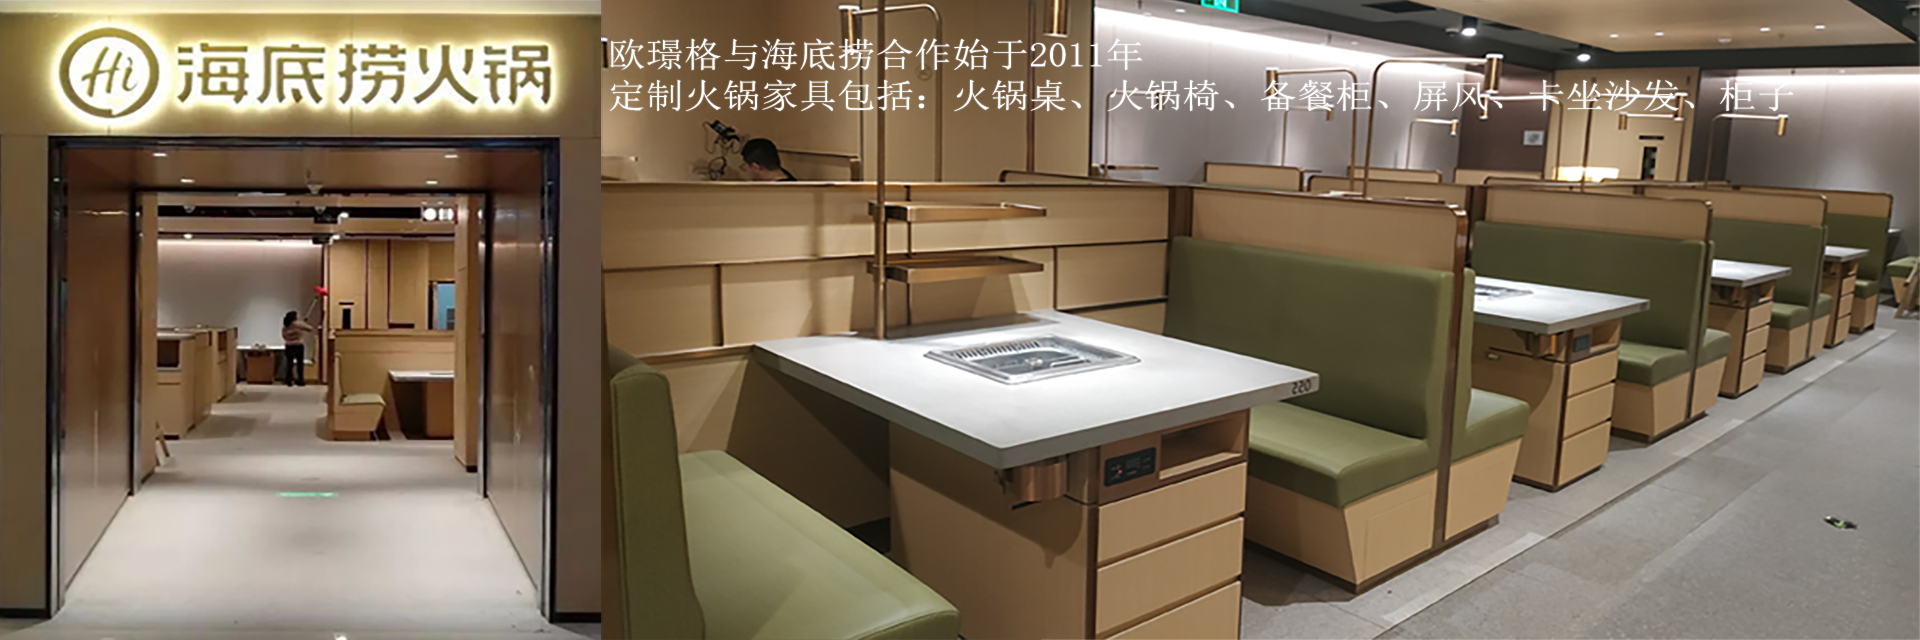
- 2011年,百胜(中国)集团公司的供应链负责团队到华亿(中国)考察,其负责人对华亿(中国)定位:做中国餐饮家具第一品牌,给予充分肯定。
100000000+体验
- 据统计,全国超过10000个餐饮企业选择了华亿(中国)餐华亿体育,累计超1亿人次体验过华亿(中国)华亿体育,给亿万用餐者带来美好用餐享受。

家具定制")
华亿体育定做")